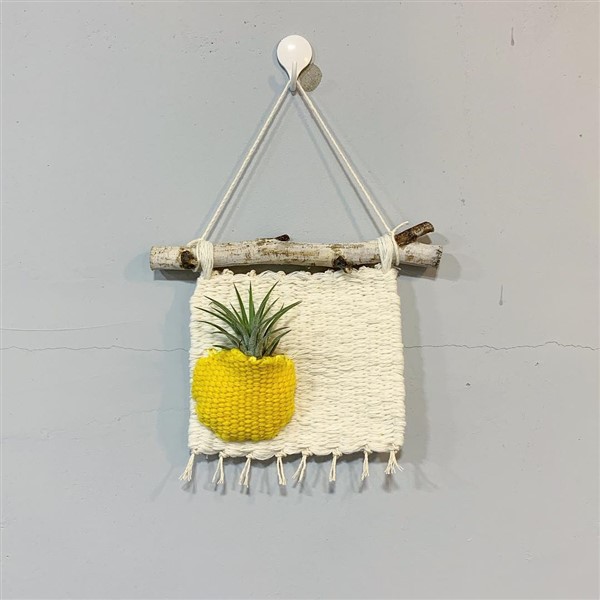
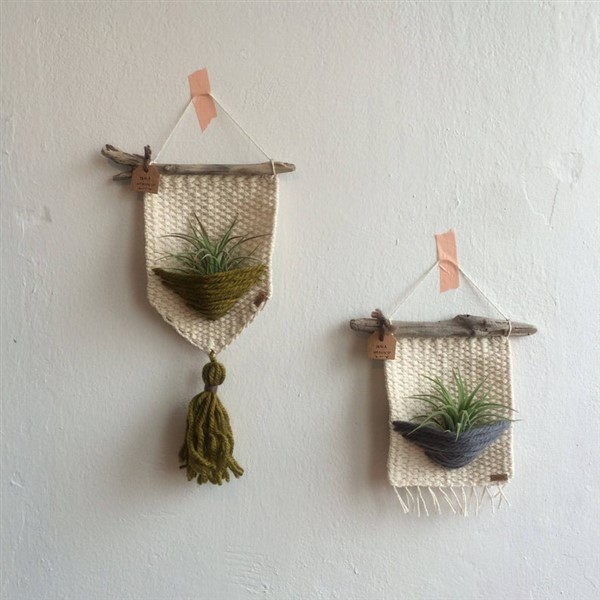
Crochet hanging baskets can offer a little extra storage space for a variety of materials from toys to accessories such as scarfs or gloves, or clothes. These sweet objects are among the new storage ideas helpful for keeping everything perfectly tidy. Plants can be one of them not to store, but to have an exclusive room hanging on the doors or walls. Hanging crochet baskets are not only so cute as a decorative element but also quite practical. It is possible to order them online or do it yourself. Doing it yourself offers the opportunity to create your own design in the size you like. 


The basket mostly has a handle so you can hang it on a hook or put it on the shelves. It is a cozy and sweet element either way. There is no ending to the patterns that can be made however, the more complicated the pattern is, the making process takes more time and effort for sure. These cute objects are especially perfect for succulents since they are light plants that do not grow too much. Now, it is time to discover how to make a hanging crochet pod for plants.

Which Materials Needed?
Just a few materials will be enough to make one. Using size 6 yarn and a crochet hook between 7.0 mm-10 mm is recommended. A stitch marker is also likely to be quite helpful for marking the beginning and end of a row.
How to Make a Hanging Crochet Basket?
Knitting our basket will start with making a slipknot just like knitting a circle. When the slipknot is done, by slipping the hook under the first strand, draw the yarn edge and make a chain stitch. Then again, slip the hook under both strands of our slipknot, draw the yarn or the rope, depending on the material, again and make two stitches, it’s called single crochet.
Chain 1, 8 single crochet into the chainring. It is better not to slip stitch or turn. Repeat by the time having 8 single crochet.

One single crochet in the next single crochet, placing a stitch marker in this stitch will be beneficial for marking the first stitch of the round. Adding one more single crochet in the same stitch, two single crochet in each stitch across by the end in the stitch before the marked one, the best is not to turn. Repeat by the time having 16 single crochets.
One single crochet in the marked stitch, move the marker up into the stitch you just made. One more single crochet in the same stitch, (one single crochet in next, two single crochet in next stitch, repeat by the time having with single crochet in the stitch before the marked one, and again: The best is not to turn. Repeat by the time having 24 stitches.
One single crochet in the marked stitch, move the marker up into the stitch that has been just made, one more single crochet in the same stitch, one single crochet in next two stitches, two single crochet in next stitch, repeat by the time having single crochet in the stitch before the marked one, remember that: the best is not to turn. Repeat by the time having 32 stitches.

One single crochet in the marked stitch, move the marker up into the stitch you just made, 1 more single crochet in the same stitch, repeat by the time having single crochet in the stitch before the marked one, the best is not to turn. Repeat by the time having 40 stitches.
One single crochet in the marked slip stitch, move the marker up into the slip stitch you just made, one more stitch in the same slip stitch, one single crochet in next 4 stitches, two single crochet in next stitch, repeat by the time having single crochet in the same stitch before the marked one, again: Remember that the best is not to turn. Repeat by the time having 48 stitches.
One single crochet in the marked slip stitch, move the marker up into the slip stitch you just made, 1 more single crochet in the same slip stitch, one single crochet in next 5 stitches, two single crochet in next stitch, repeat by the time having single crochet in the stitch before the marked one, the best is not to turn. Repeat by the time having 56 single stitches.

One single crochet and 1 double crochet both into the marked stitch, move the marker up into the single crochet slip stitch, skip next stitch, (1 single crochet and 1 double crochet in next stitch, skip the next stitch), repeat by the time having just 1 stitch left before the marked one.
Repeat the above round 8 more times. Your basket will probably be around 25 cm tall. It is possible to make bigger or smaller sizes by repeating fewer or more times.
Slip stitch to the marked single crochet while picking up the second color, 1 single crochet in next 6 stitches, (2 single crochet in next, 1 single crochet in next) three times, 1 single crochet in next, (2 single crochet in next, 1 single crochet in next) twice, 2 single crochet in next stitch, 1 single crochet in next 6 stitches, 16 single crochet, slip stitch to first single crochet.
Lastly: Chain 1( not counted as a stitch, 1 single crochet in next 15 stitches, chain 5 for loop, 1 single crochet in next 15 stitches, 1 single crochet in each stitch to end, slip stitch to first single crochet, fasten off and weave in the ends.


Bonjour serait-il possible d avoir le schéma De la poche à plante au crochet pour que je puisse le faire merci
Bonjour est il possible d avoir le Chema de la poche a planté au crochet pour que je puisse la faire merci.
Bonjour
J’aimerai si c’est possible avoir le tuto de la poche au crochet pour mettre une plante.
Merci.
Thanks for your comment. We do not have any tutorials about crochet pods. If we get any, we will share it here in a different article.